* No badgers were harmed in the creation of this blog *

** Not intended to diagnose, treat, cure, or prevent any disease
**
Showing posts with label end table. Show all posts

Wednesday, March 30, 2016

End Table Build Thread 5a: More Pix

I got home before the sun set, so here's a few more pix:


In the above photo, there is a pallor where the left-most leg meets the skirting. This isn't on the actual table, but appears in several photographs. My guess is that it's an artifact of the gloss finish reflecting the light between the two neighboring pieces of wood. The next photo shows some of the depth of the grain, brought out by the stain:


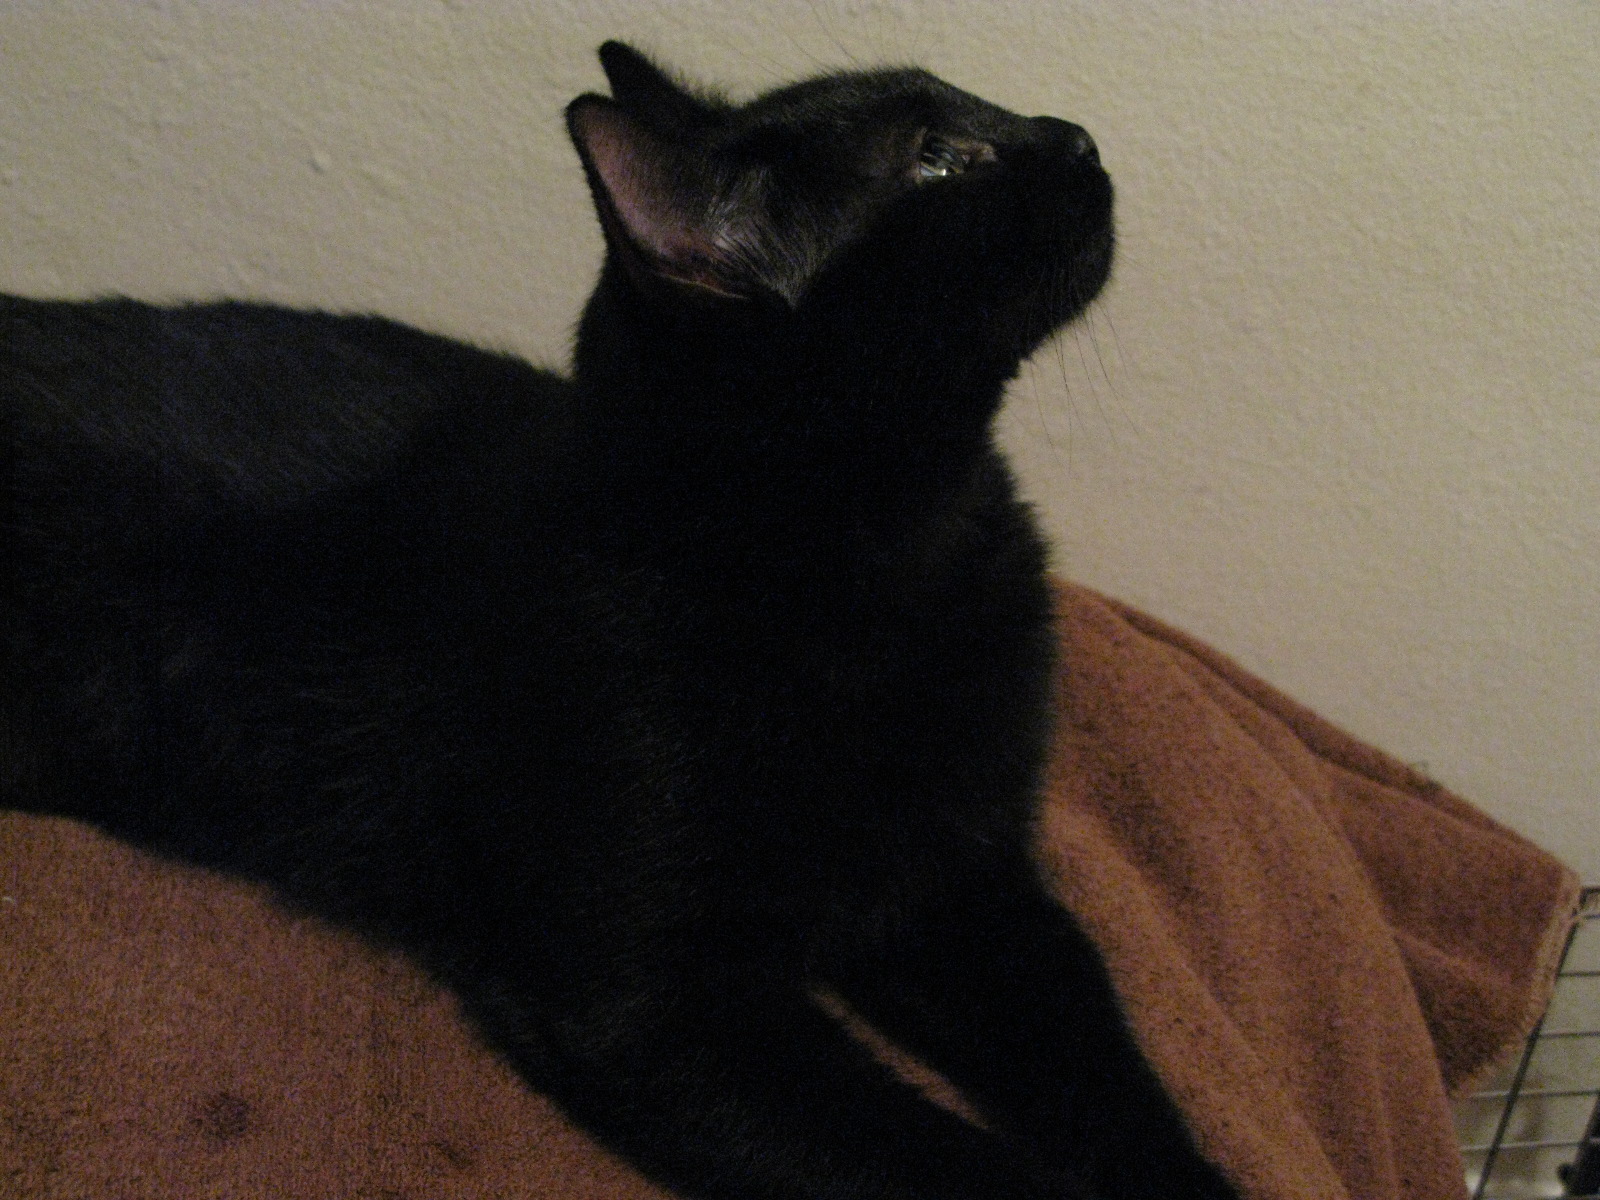
Finally, a pic with Shadow, since she was there:

Tuesday, March 29, 2016

End Table Build Thread 5: Completed Table First Look

Just a quick post: it's done:
I'll have a few more pictures once there's some daylight coming in the window for light, but here it is for now.

Saturday, March 5, 2016

End Table Build Thread 4: Sanding the Skirting

In my last post, I mentioned the age-related darkening of some of the fir (I assume it's fir) I used in the construction of the table. Here's a close-up; you can see a vertical pale patch running along the bolt hole a bit left of center. This was left by a neighboring piece of wood.
Before: Note how the skirting has an amber color
After some consideration, I took some 220 grit sandpaper to the outside surface of the skirting. I didn't try to fit the sandpaper deep into the corners, so if the patinaed areas stain darker, this darkness will seep into those corners, which should look good. Here's the 'after' picture:
After: Note the paler, less-amber look
The wood has lost some of its amber color, bringing it closer to the color of the table's edge as seen along the top of the picture. The vertical stripe hasn't entirely vanished, but it is paler; I think this creates a good compromise between making the fir uniform versus showing its recycled nature. Some of the sawdust has come to rest in the the nicks and scratches of the wood, refusing to be vacuumed out. I'll be wiping the table down with tack cloth before I stain it, so hopefully this will pull out that dust.

Also hopefully, the next post will show this table stained and sealed; i.e. finished.

Friday, March 4, 2016

End Table Build Thread 3: Final Assembly

In my last post, I completed the assembly of the table base (legs and skirting).  Last night I attached the table top to the base.  Here, you can see the completed table, standing on the same piece of birch ply that starred in some of the earlier photos (the birch ply creates a nice flat work surface on top of an old lab cart).

One of the things I noticed, on putting everything together, is the color difference between the skirting and the fir that forms the top.  Originally, I think these pieces were all the same color, but the wood seems to have darkened with age (I had the futon for about 20 years).  The pieces that went into the top subsequently traveled through a thickness planer, where they lost their outer layers, but all I did to the skirting was trim it to length and cut biscuit grooves, so it retained its patina.  There are holes in the skirting where the futon bolts ran, and if you look closely you can see places where the skirting was covered by other parts of the frame, and these areas are paler.

The next step is to stain the table, followed by sealing it with polyurethane.  I picked up a half-mask respirator (North 7700) and some Organic Vapor cartridges from Grainger; Minwax oil-based conditioner and stain, tack cloth, and clean rags from the local hardware store by school (Berger True Value), and gloves I have plenty already, so I expect to apply the stain on Monday after work, let it dry overnight, then polyurethane on Tuesday.  So, I should have a finished table on Wednesday.  Where I'm undecided is whether to try and sand down the patina on the skirting, in order to gain a more uniform look for the fir after the stain is applied - I just don't know if the stain will read differently on the patina.

Joining the table top to the frame is not simply a matter of gluing and screwing.  Wood expands at different rates along its grain versus across its grain, so gluing the top down to the table can result in cracks as the temperature and humidity change.  Admittedly, the joints between the skirting and the legs employ similar cross grain construction, but my understanding is that you can get away with it for small joints.

The solution is to join the table top to the base in such a way as to allow them to contract and expand independently.  Above-left is a picture of a bracket employed for the purpose (there are other solutions, but this is the one I went with).  Using a biscuit joiner, I cut a groove in the skirting.  Then, lining up the bracket with its tongue loosely fitted into this groove, I marked the screw position on the table top with a self-centering center punch.  I drilled pilot holes, then screwed the brackets in.  The brackets and screws I purchased from Mcfeely's, since I couldn't find them locally.

My sanding block.  The block is black; the red is the sandpaper
Finally, I'll show off my sanding block, since it's here. The difference in sanding between using or not using a block is tremendous: the block give you something to grip, and keeps the sandpaper stretch flat against the work piece. This block, by 3M (obviously), has a comfortable shape to it as well. Also nice are the spikes that hold the sandpaper in place - you slide the sandpaper into place and press down on the block to force the paper against the spikes, puncturing the paper and securing it in place.  To remove the paper, I use an old table knife to raise the paper off of the spikes.

EDIT: I did decide to address those pale vertical stripes.

Wednesday, March 2, 2016

End Table Build Thread 2

In my previous post, I wrote about cutting and finishing the various components of this table, and the first stages of assembly. Here, I've married the two long sides of the frame that I previously assembled with the short side skirting, creating the complete frame. As before, I masked the skirting before applying glue, and as before I did not mask the legs themselves, for want of a clear sense of exactly where to lay the edge of the mask. These joints are also made with #20 biscuits, held in by wood glue:


The table frame is inverted, with scrap wood between the clamps and the work piece to protect the piece. I overdid it with the wood glue again, and though I tried to clean it all up from the outside corners, I'm a bit concerned that I'll end up with vacations in the staining. I'm also a little peeved that the diagonals aren't equal: outside corner to outside corner is 30" in one direction, but 30-1/4" in the other, so I'm a bit out of square, but I've decided that I'm willing to live with it. As an experiment, I placed the table top on the legs and it rested solidly, without rocking, and I'm hoping that will translate into a sturdy table.

I also took the opportunity of having the camera out to shoot a photo of the jig I mentioned last time. This was a rush job, built in a 1/2 hour when I didn't have the time to build the jig I wanted, and as sloppy as it looks I'm pretty proud of it. The long body of the jig is another piece from the futon, the short shoe is a scrap piece of 2x2 stud I had lying around, held into place by two counter-sunk 1-5/8" drywall screws. I drilled pilot holes for the screws to they wouldn't crack the wood. I ended up misjudging the angle of the shoe to the body, giving myself an angle of a little over 90 degrees (π/2 radians, if you prefer), which would have encouraged the work piece to slip out of the jig, so when I got to the shop I did some work with the band saw to fix this, notching the 2x2 where it meets the body of the jig.

The final piece of the jig is the taper screw, a third drywall screw, driven only part way into the side of the body, near the shoe. You can see this screw to the right of the shoe in the image at right. When the jig was in use, it was placed against the table saw's fence, aligned as you see it here, with this screw and the far end of the body slid along the table saw's fence. The work piece (my table legs) fit between the jig and the saw blade, and was pushed by the jig's shoe. Driving the taper screw further into the jig decreased the angle of the taper, while backing it out increased the taper.

Friday, I hope to stain the table top and lid, then assemble it over the weekend.

Next post: final assembly

Saturday, February 27, 2016

End Table Build Thread 1

Some months long ago I finally dismantled an old futon frame I had at home, for which I had not had a mattress for perhaps a year. This left me with a pile of lumber, likely pine or Douglas Fir, which was a step above construction grade, if not absolutely furniture grade, and it seemed a waste to throw this wood away. So, I'm building an end table out of it, plus a few pieces of furniture grade Philippine Mahogany I found at a M.L. Condon's White Plains location. Last month I borrowed a biscuit joiner from a friend and glued up the top - two wedge-shaped pieces of fir (former legs on the futon) with a wide strip of mahogany between them. Making use of a barter agreement (labor for access) at a local machine shop, I trimmed the lumber to size, and M.L. Condon was kind enough to run the table top through their thickness planer, since the top was a glue-up with no metal hardware. I sanded the top by hand, starting at 60 grit and working down to 220. Here you see the top, with the lumber for the legs and skirting cut to size:
For the table top, I made use of the wedge-shaped nature of the futon's legs to lay the mahogany at an angle, for aesthetic reasons. Once I had glued the table top together it occurred to me that not only might the fir and the mahogany expand and contract at different rates, but by laying the mahogany at an angle to the fir I had further complicated the variation of the wood movement. Hopefully, I'll be okay, but with the glue dry, there's no turning back.

Visible but not obvious in this image are the grooves cut into the skirting and legs. These are for the biscuit joints that will connect the mahogany legs to the fir skirting. Not visible are an additional series of grooves along the top of the skirting - these will accept the hardware which will connect the table top to the table base. I'll add a photo of the grooves and the hardware once I complete the final assembly.

Last week, I returned to the machine shop to put a taper on the table legs, for a more finished look. My rough-and-tumble jig, made of a scrap of 1 x 4 salvaged from the futon, a 3" length of scrap 2 x 2 stud, and a drywall screw, did a surprisingly good job - I'll have to shoot a photo of it. The original jig was designed with a casement stay, hinge, and 2 knobs - all brass hardware with kiln dried fir, but I ran out of time and it never got built.

This morning I finished sanding down the tapers on the legs, at 220 grit, and finally began to assemble the base:
Here you can see two of the legs and the skirting between them, clamped in place as they dry by a 3' bar clamp I purchased for the purpose. (The wood beneath the protective plastic sheeting is an unrelated piece of birch ply.). I use a single #20 biscuit for each joint, and of course wood glue, taping the ends of the skirting against drips. I had wanted to tape the legs as well, but couldn't figure out how to line up the tape properly; in the end I used a lot of damp paper towels to clean up the excess glue (I'm a glue hound, and always seem to have excess glue squeezing from my work).

Next post: completing the frame, and the taper jig.